Magazines, brochures and other printed materials accumulate so easily. Sometimes you come across visually beautiful things you want to keep, but after a while they take up so much space... I've been making a point to use those materials up and making gift tags is one of the easiest ways to put those pretty papers to good use. This tutorial works with practically any paper you might have lying around at home, magazines, catalogs, gift wrap, etc...

I've made gift tags myself for a very long time. After a while you figure out the best way to do them and realize how fun and versatile this little project is. Again, this is super simple, easy to do and doesn't need complicated materials or tools to make. This is also a good project to do ahead of time, just to have a few tags in stock in case you need one for a quick present.
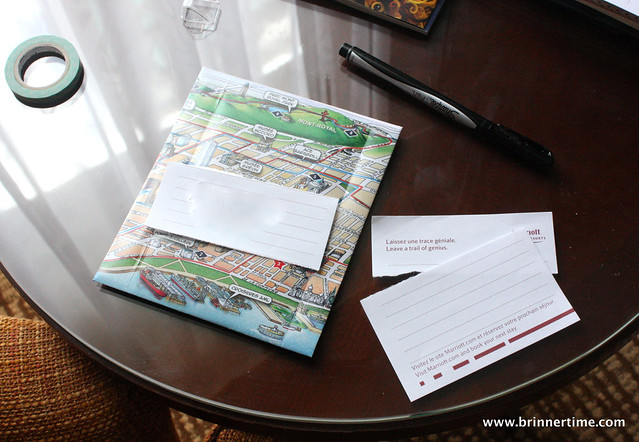
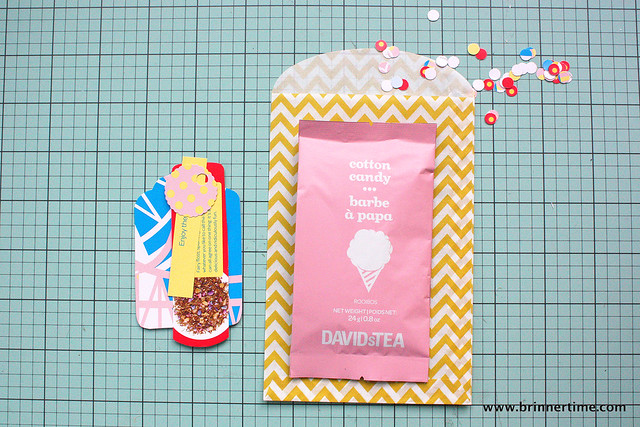
I recently bought some of the new flavors from the Carnival Collection from
David's Tea. I know a few tea enthusiasts who I thought would appreciate something different, so I wanted to send them a small bag of the tea. The tea menu got a new look for the summer and I used the brochure to make some cute tags to attach to the tea as I sent it out.
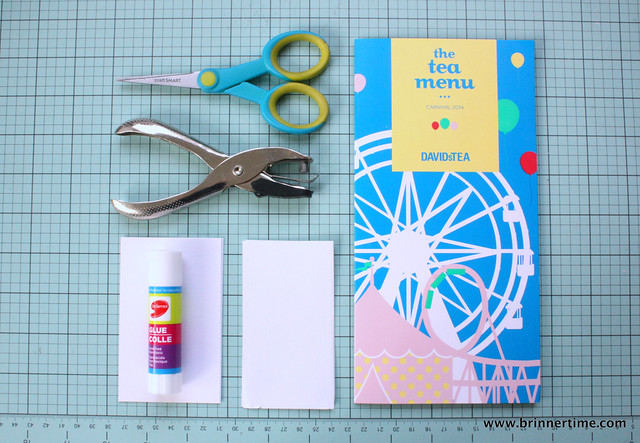
To make the tags you'll need
- Scissors
- Hole punch (I have a handheld one, but the regular offic-y one works just as well)
- Glue
- Paper/cardstock *
- Brochures/Magazines/Wrapping paper/etc
*) Choose the paper/cardboard depending on the thickness of your material. Cardboard for magazine, paper for sturdier brochures. Use household packaging for the cardboard, I find cereal boxes awesome for this purpose!
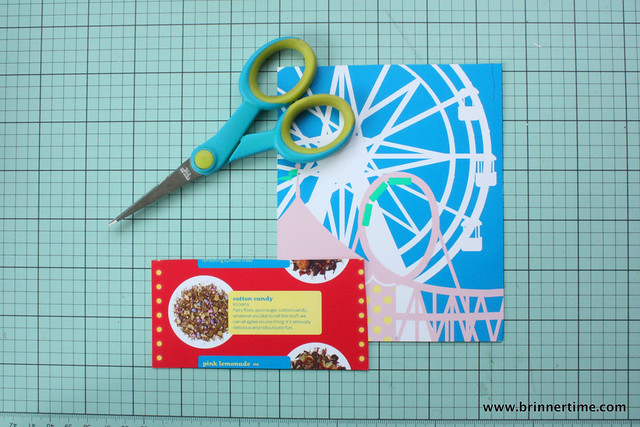
I started by
cutting out the parts of the brochure I liked. I chose some of the larger illustrations as well as the details of the specific tea I bought. Don't toss the rest of the material yet, you can use some of it for decoration! Check the materials again to see if there are any other interesting things to use: small pictures, text, etc.
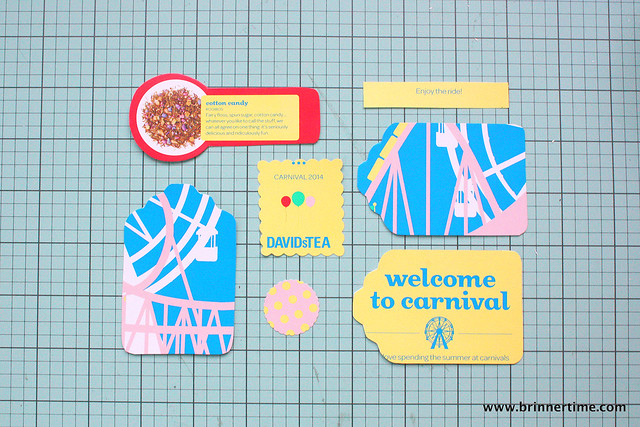 Cut the material in the shapes you want.
 I had some gift tags already, so I used them as a template to make the more traditional tag shapes. I really don't see why they would need to be actual tag shapes though, if you don't have any at hand, squares and rectangles work just as well. I cut various different shapes out of the brochure. If you have paper punches, those are really handy, but not at all necessary.
If you have a nicely shaped tag you like, make a template out of it for future use. You can follow the
envelope tutorial for help to make the template.
Glue the paper or cardstock on the back of the tags for writing surface. I only put white paper behind the large ones I used for writing, the small ones have no paper on the back.
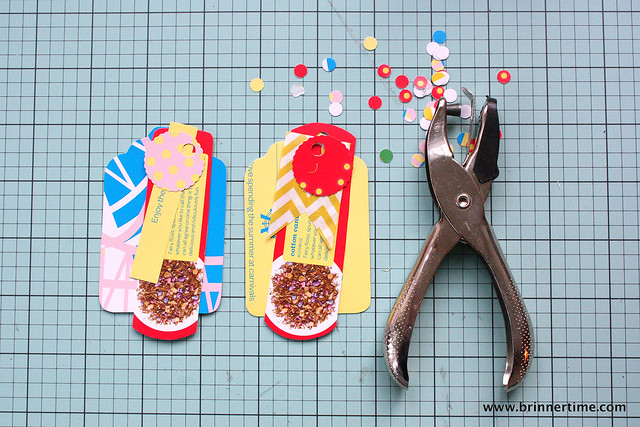 Punch holes in the tags.
I really like the layered look, so I combined several different shapes and sizes. This is especially effective if you cut out basic shapes like squares or rectangles.
To add a little extra, I packed the tea in a small paper bag. I had a few extra bags, so I cut one up to add the little banner shape in the pile-o-tags as well. And, let's not forget confetti! Punch a bunch of holes into the remaining material to make coordinating confetti! Stuff that shit everywhere!!!*
*) Unless the recipient has cats or toddlers. In that case don't be a dick and just leave the confetti out. Same goes for glitter by the way.
So, what do you think of these repurpose posts so far? Useful or not? I'm also thinking of posting variations of these tutorials later, just to show what you can do once you know the basics.
Any requests for future tutorials?

 I don't usually buy things to resell, only to use myself. That of course backfires when I don't have time to use the majority of things I find.
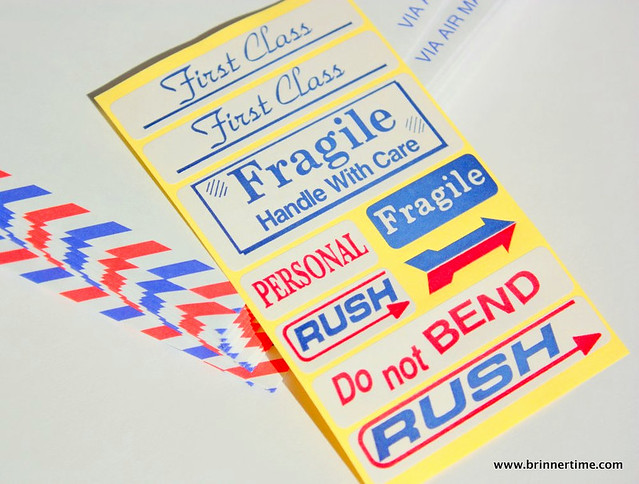
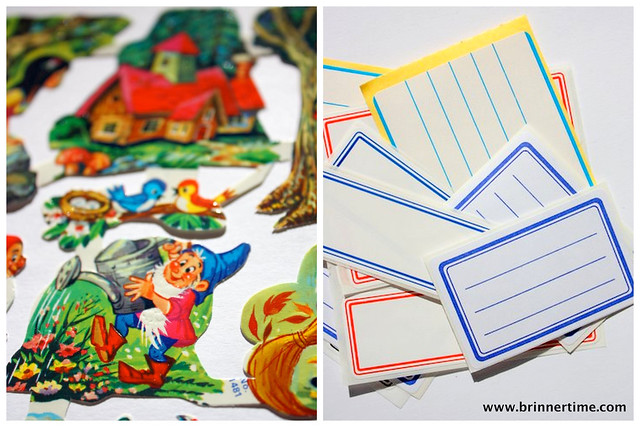 Since moving to Toronto in December I had to give up quite a bit of storage space. I have great plans for new products, especially for the holiday season* so I need to clear some space. I've added some vintage paper, some stickers and other paper goodies in the shop at significantly reduced prices. And as a reader of this blog, you'll get an additional 20% off on all the items**!
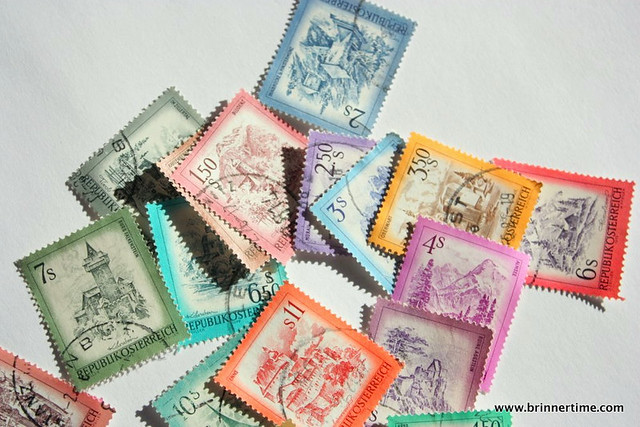 *) I'm not saying it's practically Christmas, but I need to start now to get things done in time.